
Are you tired of paying outrageous fees for a plumber to install your American Standard toilet? You don’t have to. Installing a toilet isn’t as difficult as it may seem. With the right tools and instructions, you can learn how to install an American Standard toilet yourself, saving time and money in the process.
In this article, we’ll guide you through the steps of how to install American Standard toilet, so you can take on this DIY project like a pro!
Use links below for easy navigation
Gather Necessary Tools and Materials
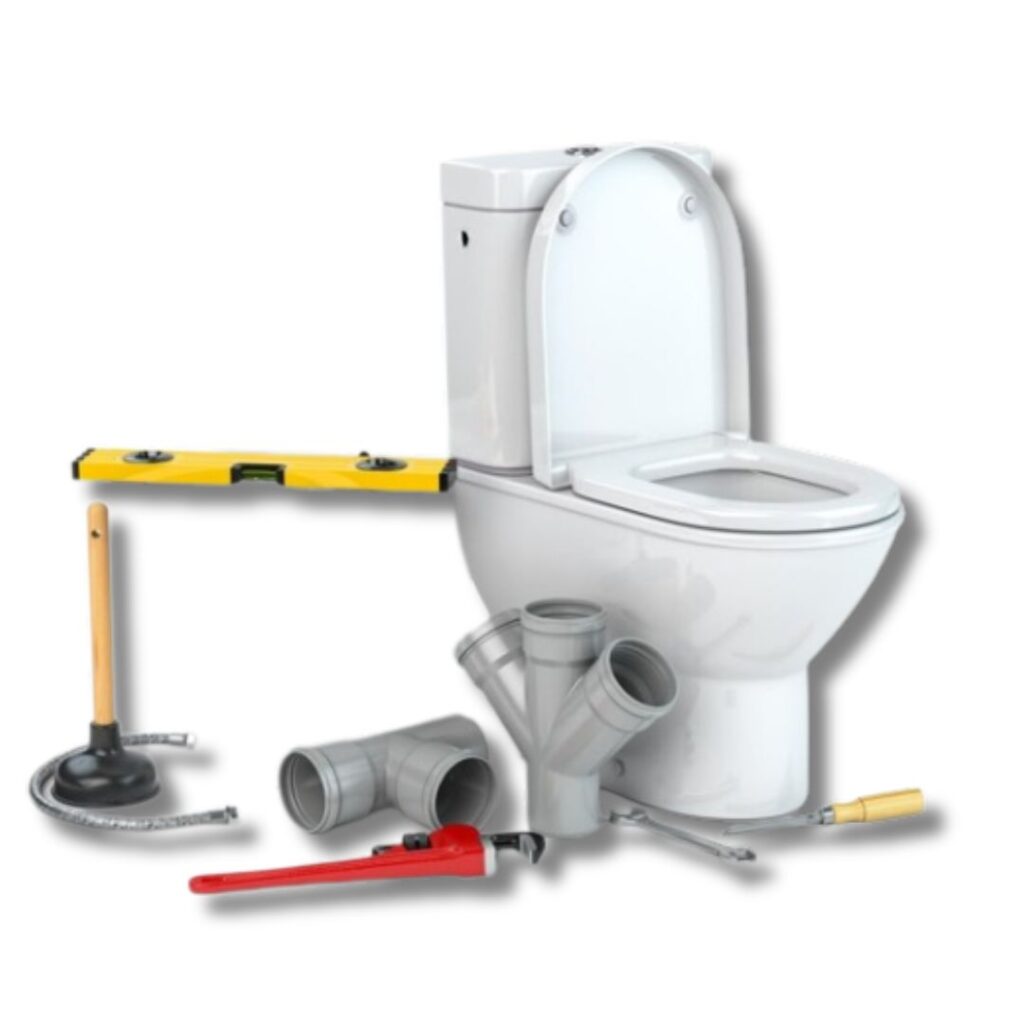
When it comes to installing an American Standard toilet, having the right tools and materials is crucial for a smooth and successful installation process. Here is a list of the essential items you’ll need to gather before getting started:
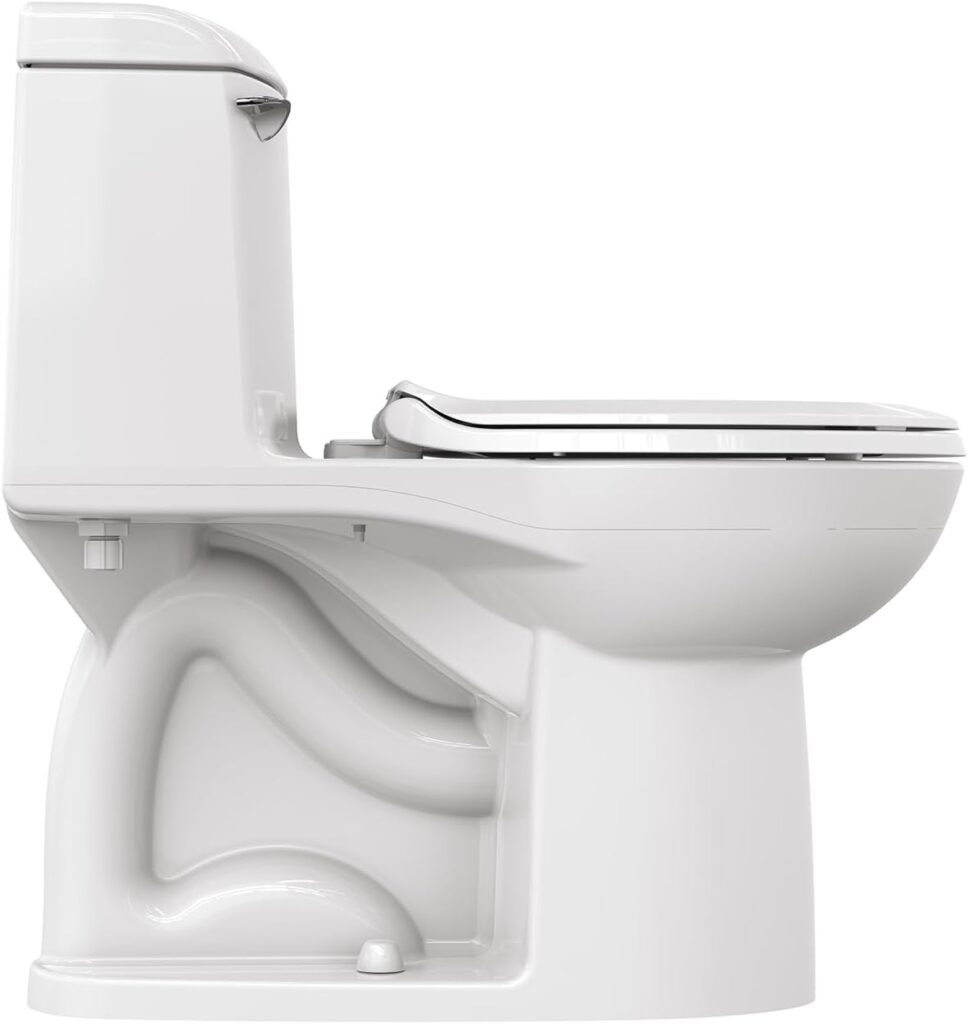
American Standard toilet Rough In
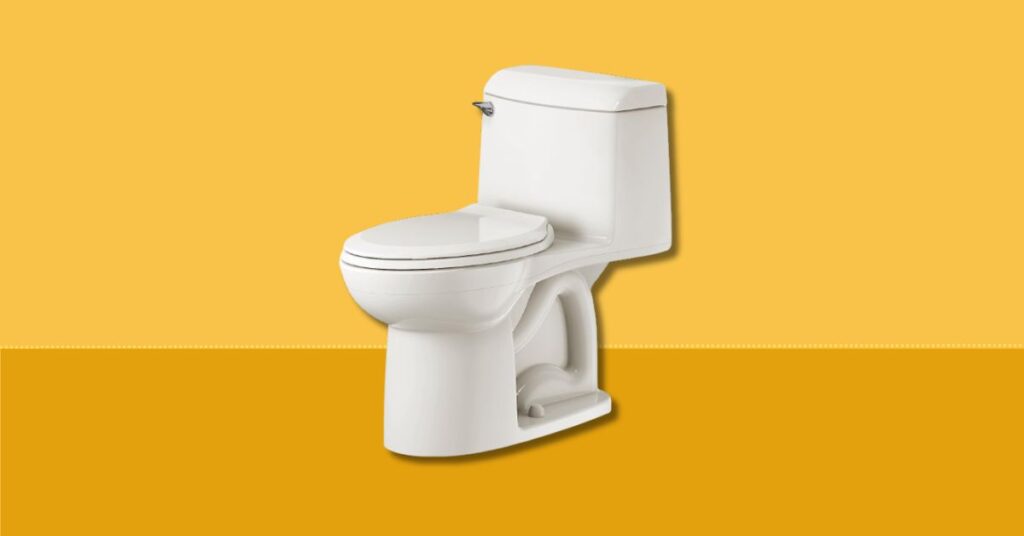
Of course, the most important item on the list is the toilet itself. Make sure you have purchased an American Standard toilet that suits your needs and preferences. Most toilets have 12” rough in, while some have 10” or 14” rough in. It is always necessary to check the rough in before installing your new toilet.
Toilet wax ring
This is a crucial component that ensures a watertight seal between the toilet and the drain pipe. Make sure to choose a high-quality wax ring that is compatible with your toilet model.
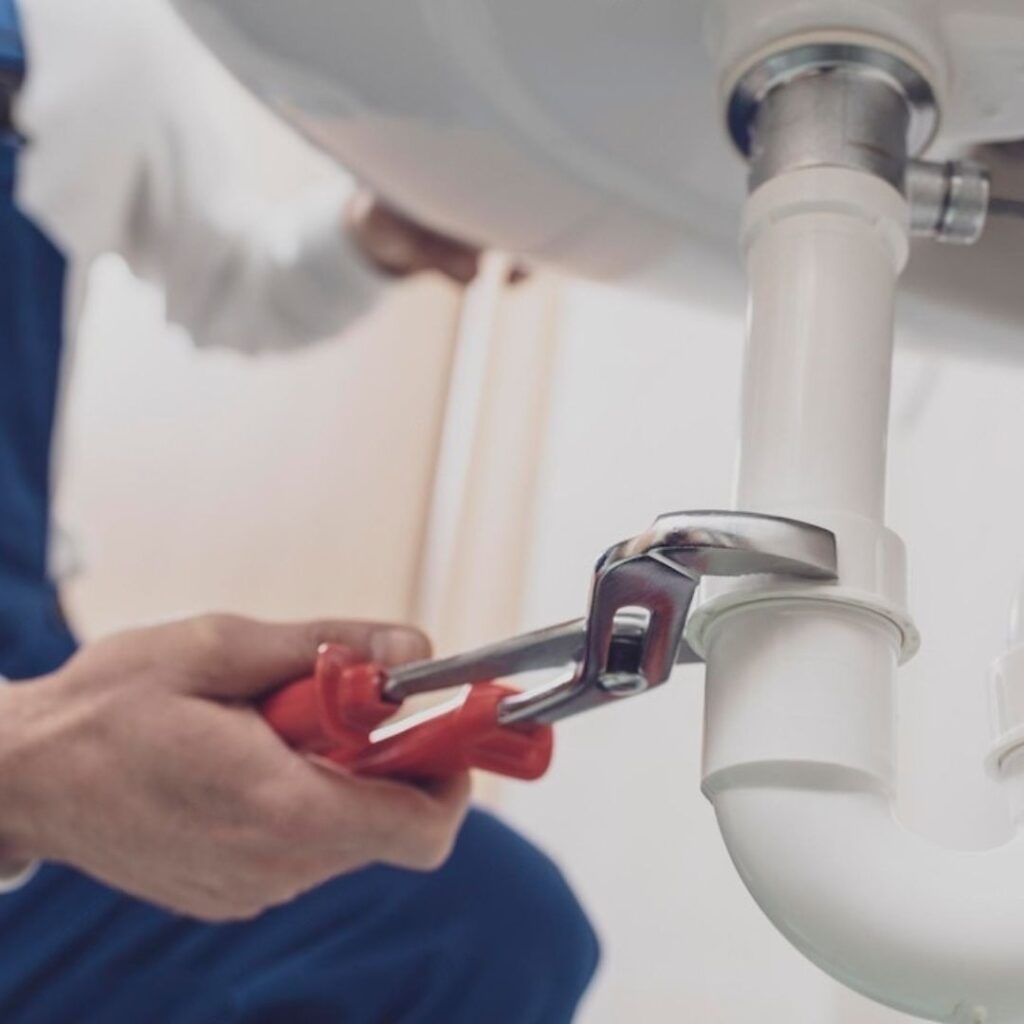
Adjustable wrench
This versatile tool will be necessary for tightening and loosening various nuts and bolts during the installation process.
Screwdriver
You’ll need a screwdriver for removing and installing the toilet seat and lid.
Bucket
Having a bucket nearby will come in handy for catching any excess water or debris during the removal process.
Plunger
While not necessary for the installation itself, having a plunger on hand is always a good idea in case of any clogs or blockages.
Related: Non clogging toilets
Disposable gloves
It’s a good idea to wear gloves throughout the installation process to protect your hands and maintain hygiene.
Other Necessary tools
Pliers (slip-joint, needle nose, and locking)
Rag
Utility knife
One or two piece water closet
Toilet supply tube
Toilet bolts
Caulk
Flexible water supply
Plastic shims
Toilet flange
Tape measure
Sponge
Level
Now that you have gathered all the necessary tools and materials, you are ready to move on to the next step: Pre-Installation Preparations.
Stay tuned to learn how to prepare your bathroom for a successful toilet installation.
Pre-Installation Preparations
Before you start installing your American Standard toilet, it’s important to make sure you have everything you need and to prepare your bathroom for the process. These pre-installation preparations will help ensure a smooth and successful installation.
First, gather all the necessary tools and materials mentioned in the previous section. Having everything ready and easily accessible will save you time and frustration during the installation process.
Next, make sure to turn off the water supply to your toilet. Locate the shut-off valve usually located behind the toilet or near the water meter. Turn the valve clockwise to shut off the water flow. This step is crucial to prevent any leaks or water damage during the installation.
Once the water supply is turned off, flush the toilet to drain as much water as possible from the tank and bowl. This will make the removal process easier and cleaner.
Next, place a bucket or towels near the toilet to catch any excess water or debris that may come out during the removal process. This will help keep your bathroom clean and prevent any damage to your flooring.
Lastly, remove any items from around the toilet area. Clearing the space around the toilet will give you more room to work and prevent any accidents or damages to surrounding objects.
By taking these pre-installation preparations, you will be well on your way to successfully installing your American Standard toilet. Stay tuned for the next section on how to remove your old toilet.
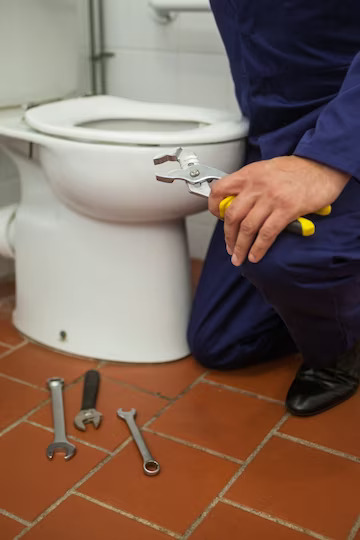
How to Remove Old Toilet
Now that you’ve gathered all the necessary tools and materials, it’s time to tackle the next step: removing your old toilet. This part of the process is essential in order to make room for your brand new American Standard toilet. Follow these steps to successfully remove your old toilet.
Start by turning off the water supply
Locate the shut-off valve, usually located behind or near the toilet, and turn it clockwise to shut off the water flow. This step is crucial to prevent any leaks or water damage.
Flush the Toilet Drain
Flush the toilet to drain as much water as possible from the tank and bowl. Use a plunger if necessary to remove any remaining water. This will make the removal process easier and cleaner.
Related: Best Tankless Toilet
Disconnect Water Supply
Use an adjustable wrench to disconnect the water supply line from the bottom of the tank. Loosen the nut and carefully remove the line. Have a towel or bucket ready to catch any remaining water.
Remove Nuts and Excess Water
Next, remove the nuts from the bolts that secure the toilet to the floor. Use a wrench or pliers to loosen and remove the nuts. Once the nuts are removed, carefully lift the toilet straight up and off the bolts.
Place the old toilet on a drop cloth or garbage bag to protect your flooring. Remove any excess water from the toilet bowl using a sponge or towel.
With your old toilet successfully removed, you are one step closer to installing your new American Standard toilet. Stay tuned for the next section on how to properly prepare your bathroom for the installation process.
Preparing the Installation Site and Assembling the American Standard Toilet
Preparing the installation site and assembling the American Standard toilet is a crucial step in the installation process.
Clean and Inspect Flange
Start by cleaning and inspecting the flange, which is the connection point between the toilet and the floor. Make sure it is clean and free of any debris or damage.
Check Floor Stability
Next, check the floor for stability. If the floor feels uneven or unstable, you may need to address any underlying issues before proceeding with the installation. This will help prevent any future problems or leaks.
Address any flooring issues by making necessary repairs or adjustments. It’s important to have a stable and level surface for the toilet to sit on.
Place the Wax Ring
If the wax ring on the flange is old or damaged, it’s recommended to replace it with a new one. This will ensure a proper and watertight seal between the toilet and the drain pipe.
Inspect the New Toilet
Unbox and inspect the new toilet to make sure all the necessary parts are included and in good condition. Take note of any missing or damaged parts and contact the manufacturer if necessary.
Now, it’s time to assemble the tank and bowl. Follow the manufacturer’s instructions carefully to ensure proper assembly. Make sure all connections are secure and tightened properly.
Lastly, secure the tank to the bowl using the provided hardware. Follow the manufacturer’s instructions for the correct placement and tightening of the bolts.
By following these steps, you’ll be well on your way to installing your American Standard toilet like a pro. Stay tuned for the next section on how to properly install and seal the toilet.
Related: Best toilet for septic tanks
Placing and Seating the New American Standard Toilet
Now that you have prepared the installation site and assembled your American Standard toilet, it’s time to move on to the next step: placing and seating the toilet. This is the exciting part where you finally see your hard work come together.
Follow these steps to ensure a successful placement and seating of your toilet.
Position Toilet over Flange
Start by positioning the toilet over the flange, making sure it is aligned properly. Take your time to ensure it is centered and in the correct position.
Next, align the mounting bolts with the corresponding holes in the base of the toilet. Gently lower the toilet onto the flange and press it down firmly. This will help secure the wax ring in place.
Ensure that the toilet is properly aligned and level. You can use a level tool to check if it is sitting evenly. Make any necessary adjustments to ensure a straight and level installation.
Secure Tightening Nuts
Once you are satisfied with the placement, secure the toilet by tightening the nuts onto the mounting bolts. Alternate sides as you tighten to ensure even pressure. Be careful not to over-tighten, as this can cause damage.
Connect Water Supply
Next, connect the water supply line to the fill valve on the bottom of the tank. Use an adjustable wrench to tighten the nut securely.
Attach the flush handle and lever according to the manufacturer’s instructions. Make sure they are securely fastened.
Check for Any Leaks
Finally, check for any leaks around the base of the toilet and make any necessary adjustments to ensure a watertight seal.
Congratulations! You have successfully placed and seated your American Standard toilet. The hard part is over, and now you have to test the installed toilet.
Testing the Toilet and Finishing Touches
Now that you’ve successfully placed and seated your American Standard toilet, it’s time to move on to the final steps: testing the toilet and adding those finishing touches.
Here’s what you need to do to ensure your installation is complete and your new toilet is functioning properly.
Turn On Water Supply
First, turn on the water supply by slowly turning the shut-off valve counterclockwise. This will allow water to fill the tank and prepare the toilet for flushing.
Related: American Standard Cadet 3 Review
Flush the Toilet
Next, flush the toilet to check for proper functionality. Ensure that the water flushes smoothly and that the tank refills without any issues. This will indicate that everything is working as it should.
Related: American Standard Champion 4 Reviews
Inspect any Leaks
Take a thorough look around the base of the toilet and inspect for any leaks or issues. Look for any water seepage or dripping, which could indicate a problem with the seal or connections. If you notice any leaks, make the necessary adjustments to fix them before proceeding.
Apply a Bead of Caulk
For a clean and finished look, apply a bead of caulk around the base of the toilet. This will not only seal any gaps but also provide a neat appearance. Use a caulk gun to carefully apply the caulk, and smooth it out with your finger or a caulk smoothing tool.
Install the Toilet Seat
Now it’s time to install the toilet seat. Follow the manufacturer’s instructions to attach the seat securely. Make sure it is aligned properly and tight enough to prevent any movement.
Clean the Surrounding Area
Lastly, take the time to clean up your work area. Dispose of any trash, wipe down the toilet and surrounding surfaces, and put away your tools. This will leave your bathroom looking clean and fresh.
Congratulations! You’ve successfully installed your American Standard toilet. Take a moment to appreciate your hard work and enjoy your newly updated bathroom.
Maintenance Tips
Regular maintenance and care for your American Standard toilet is essential to keep it running smoothly and to extend its lifespan. Here are some maintenance tips to help you keep your toilet in top shape:
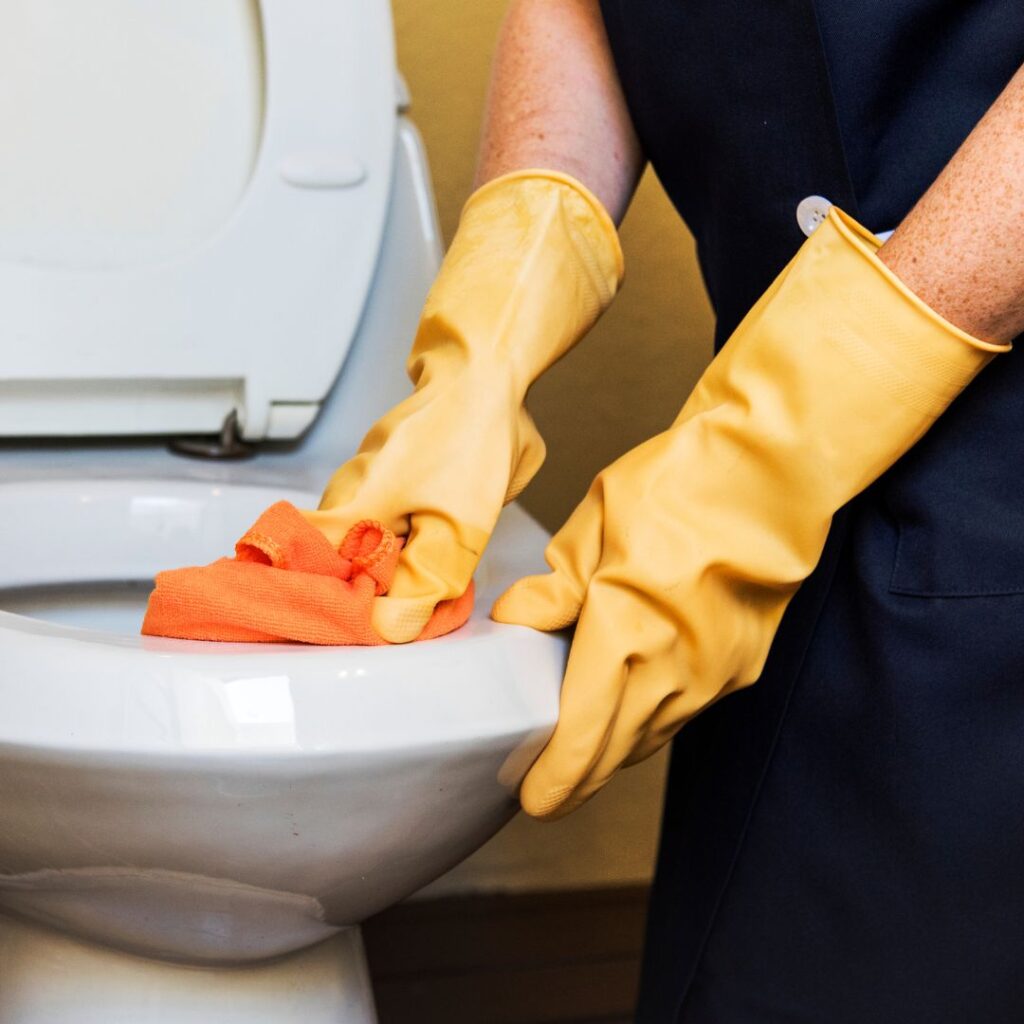
1. Regular cleaning:
Clean your toilet regularly using a mild cleaner or a mixture of vinegar and water. Scrub the bowl, seat, and lid with a toilet brush and wipe down the exterior with a soft cloth. This will help prevent stains, odors, and buildup.
2. Addressing common issues:
If you notice any issues such as a running toilet, weak flush, or slow filling tank, it’s important to address them promptly. Check for any leaks, replace faulty parts, or adjust the fill valve if necessary. Refer to the manufacturer’s instructions or seek professional help if needed.
3. Avoid using harsh chemicals:
Harsh chemical cleaners can damage the toilet’s components and affect its performance. Stick to mild cleaners or natural alternatives to avoid any damage.
4. Be mindful of what you flush:
Only flush toilet paper and human waste down the toilet. Avoid flushing items such as wipes, feminine hygiene products, or excessive amounts of toilet paper, as these can cause clogs and damage the plumbing.
5. Regularly inspect the wax ring:
The wax ring provides a watertight seal between the toilet and the drain pipe. Inspect it periodically for any signs of damage or deterioration. If necessary, replace the wax ring to maintain a proper seal.
Remember, while regular maintenance is important, there may be situations where you need to call a professional plumber. If you encounter major issues or if you’re unsure about any repairs, it’s best to seek professional help to avoid causing further damage. With proper care and attention, your American Standard toilet will continue to provide reliable performance for years to come.
Conclusion
In conclusion, installing an American Standard toilet is a rewarding and achievable DIY project that can greatly improve the functionality and aesthetics of your bathroom. By following the comprehensive steps outlined in this guide, you can confidently tackle this task, saving both time and money.
Remember that proper preparation and attention to detail are key to a successful installation. From choosing the right toilet model to ensuring a secure and leak-free fit, every step plays a crucial role in the process.
Maintaining your newly installed American Standard toilet is equally important. Regular cleaning and addressing any issues promptly will help ensure its longevity and performance.
With the knowledge gained from this guide, you can take pride in your ability to install and maintain one of the most essential fixtures in your home.